


I mentioned in this post that I was going to share the pattern for this easy crocheted hat, so here goes...
You will need
5mm crochet hook
Approx. 80g King Cole Moorland Aran
A tapestry needle to thread in the ends
Pattern
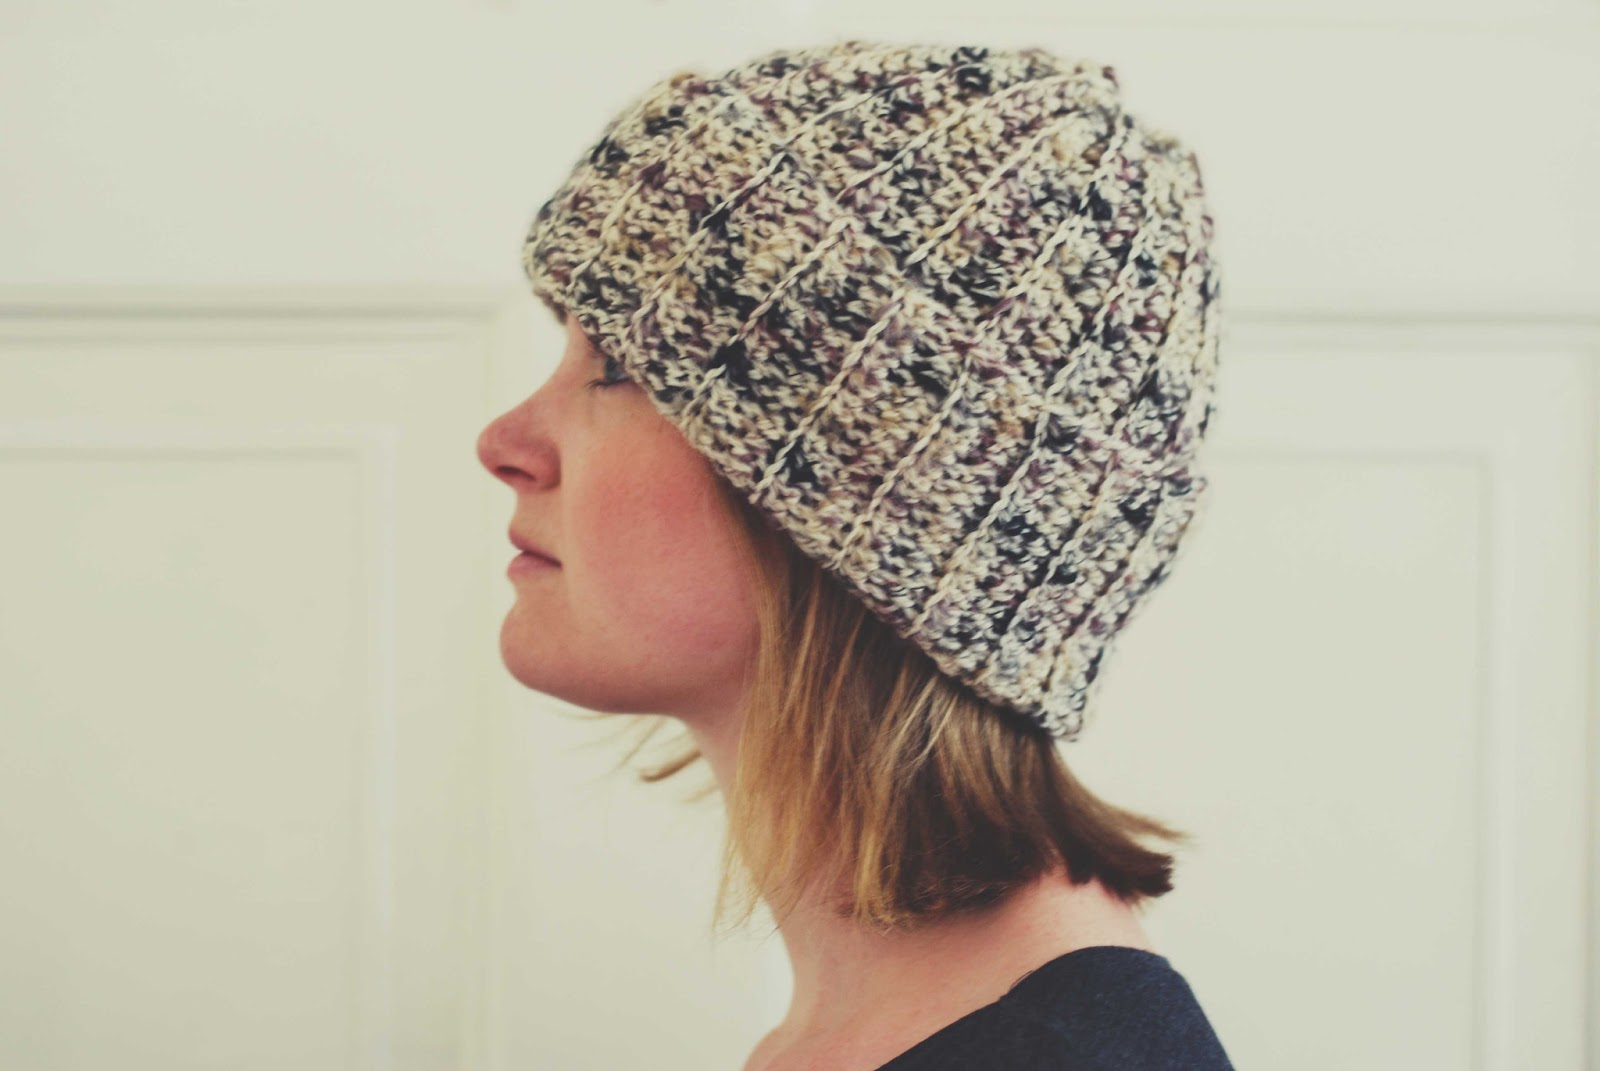
You begin the hat with a series of chain stitches. I found it useful to measure a row of chains from the centre of the top of your head (where the top of the hat would be) to where you want it to end. For the first hat I did about 40 chain stitches, and for the second hat *pictured below* I did about 50 chain stitches.
Leaving a long tail, ch between 40-50 stitches (depending on your preference).
Row 1: Once you have your row of chain stitches, Hdc in the back loop of the second ch from the hook.
Row 2-46: Continue to Hdc across the row in the back loop only. Once you reach the end, *ch 1, turn the work and continue with Hdc in the back loop until you reach the end of the next row - repeat from * 45 times.
To finish: Join the beginning and end rows by matching the last Hdc with the first ch st and linking with a series of slip stitches to form a tube, fasten off and weave in the end. Then using the tapestry needle, thread the long tail through the top of the tube with a running stitch, gathering the fabric as you go. Weave through the top of the hat a number of times to make sure it's fastened well and won't come loose.

This is the first crochet pattern I've shared, so please let me know if you spot any mistakes or recommend any improvements. I hope you have fun making this hat. Please leave a link below if you decide to give it a try!
Nice hat!! Maybe is hould try to make it too...
ReplyDeleteMy friend made me a big candle and also a wooden decorated box to store my jewelry in...